



How to specify print size and position: chest, back, sleeve and more
Terms such as A4, small chest or high back are ambiguous. Use centimetres, garment reference points and a measured proof to prevent placement errors.
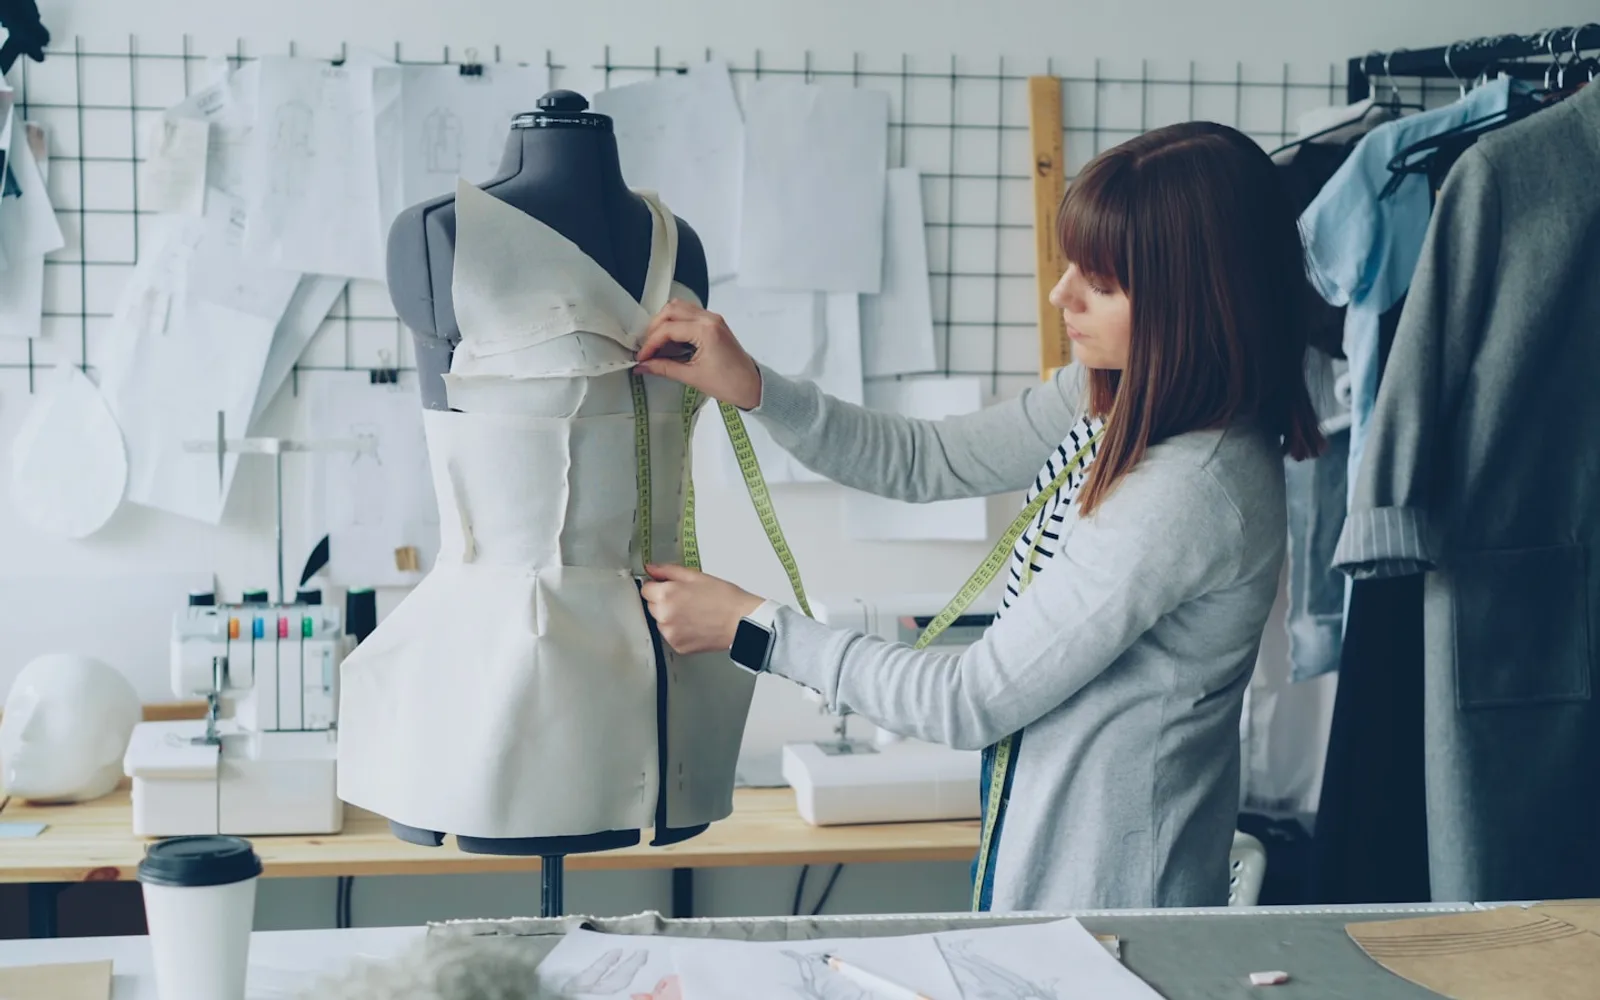
A print file has pixels or vectors, but production needs physical dimensions and a position on the garment. Paper sizes such as A4 are only useful when the exact orientation and dimensions are confirmed. Measured instructions remove interpretation.
State the final width or height in centimetres
Provide at least one physical dimension while preserving the artwork proportions. Width is often the clearest reference for chest and back designs.
If artwork must fit within both maximum width and height, specify the bounding area and which dimension has priority.
Use stable garment reference points
Describe placement from the collar, centre line, shoulder seam, pocket or another repeatable feature. Avoid instructions such as slightly higher or about a hand-width.
Garments do not lie perfectly flat in use. Check how the position looks when worn, especially near breasts, zips, waistbands and arm movement.
- Artwork width and height
- Distance below collar or seam
- Horizontal alignment
- Garment model and size used for proof
- Whether dimensions change by size group
Different positions need different limits
Chest logos must remain readable without dominating the garment. Large back prints need clearance from the collar and side seams. Sleeves and neck positions have narrow usable areas.
A dimension that works on a T-shirt may not transfer directly to a polo, hoodie, jacket or child size because panel construction changes.
Approve a measured production proof
The proof should show the artwork dimensions, garment, colour and distance from reference points. It should not rely on a visually scaled mock-up alone.
Keep the approved values for repeat orders. If the garment changes, review placement again rather than assuming the old measurements still fit.
Frequently asked questions
Frequently asked questions about this subject
Can I request an A4-size print?
You can use it as shorthand, but confirm the exact width, height and orientation in centimetres.
What is a normal chest-logo width?
There is no universal size. Logo proportions, garment and viewing distance determine readability.
Should large and small garments use different print sizes?
Sometimes. Grouped sizes can preserve visual balance across a wide range.
How is placement measured?
Use stable reference points such as collar, centre line or seam and record distances in centimetres.
Is a digital mock-up enough?
It helps with intent, but a measured proof or physical sample is safer for critical work.
Project advice
Make the artwork position unambiguous
Send your garment, artwork and preferred placement. We will convert the idea into measurable production instructions.
Request a quote